Locations are the foundation of expanding the functionality within WeatherSentry, including monitoring, alerting and forecasts. Every WeatherSentry login comes pre-configured with a default location, likely based on the address on your contract with DTN.
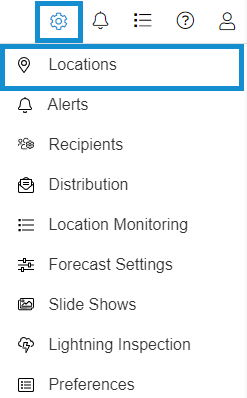
To see your locations, go to the Settings cog wheel in the upper right corner and click Locations.
Default Location
One location should be labeled as the “default” location, which is used to display weather information in places like the Dashboard and Local Forecast.
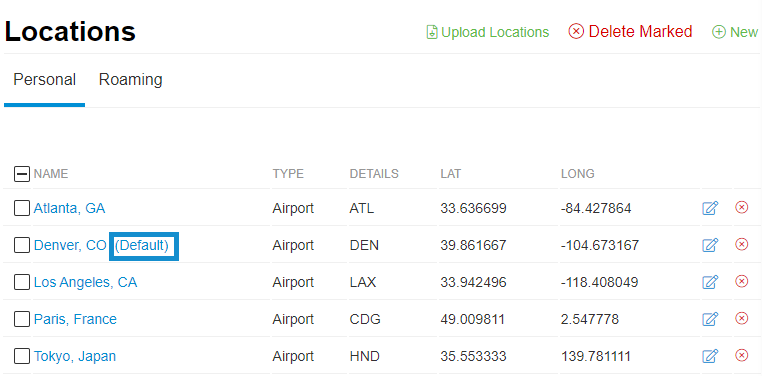
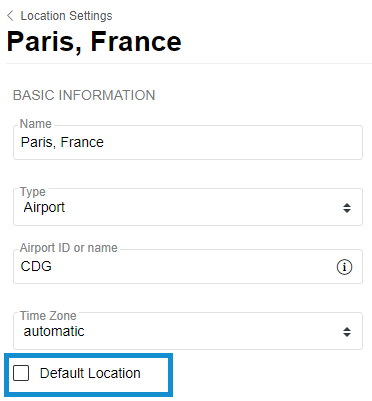
If you do not have a “default” location, either create a new location (keep reading) or edit an existing location and ensure the “Default Location” box is checked and hit “Save“.
New locations can be created in one of two ways.
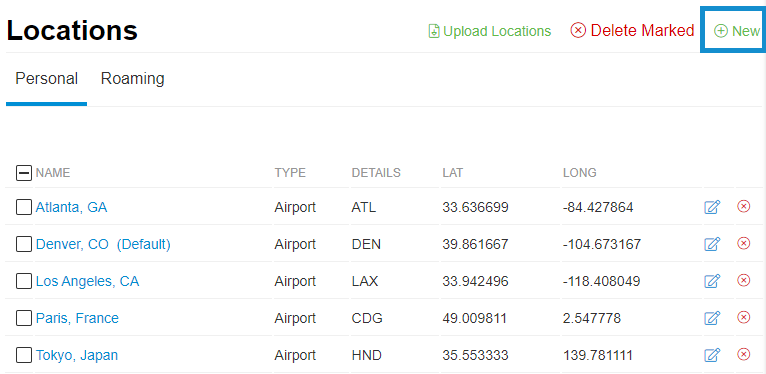
Method #1 – Create a new location in Settings
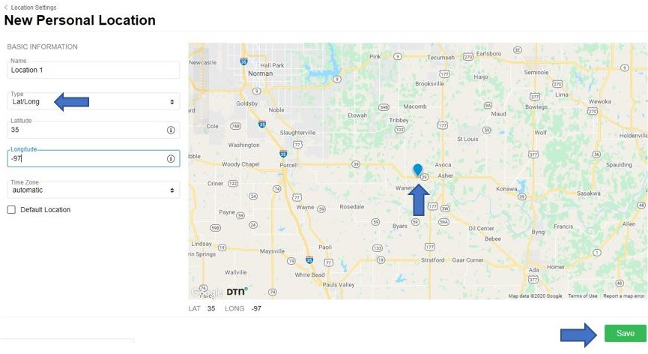
Go to the Settings cog wheel in the upper right corner and click Locations and then click the “New” button in the upper right corner.
- Add the location’s name.
- Choose Address, Lat/Long, or Airport.
- Type the address in the Address field, or the Latitude and Longitude, or airport code in the appropriate field.
- A preview of the location will appear on the map to the left.
- Change the time zone if applicable and choose if you would like this location to be your default location.
- Click Save. If all fields are not complete or there is an error the Save Button will not appear.
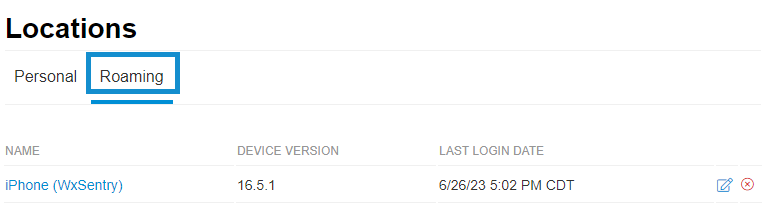
A note about Roaming Locations: Roaming locations will be automatically added after downloading and setting up the WeatherSentry SmartPhone app on your mobile device. This location will automatically be added to your roaming location list.
Method #2 – Create a new location in the Map
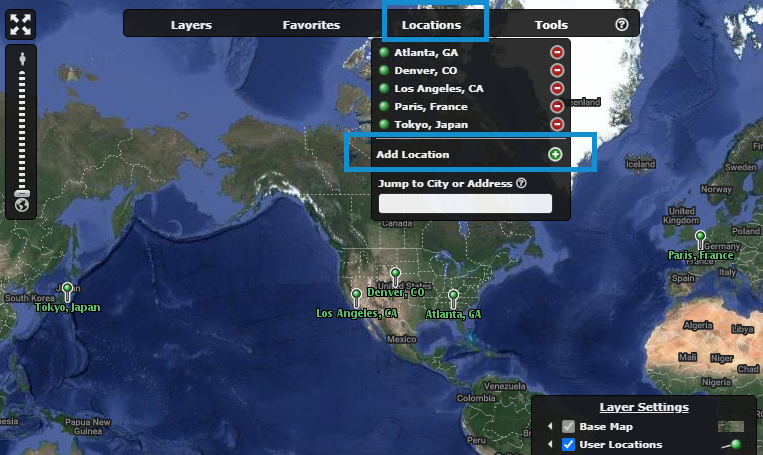
- While on the Map, you can choose to add a location.
- Click “Locations” at the top of the screen and choose “Add Location“
- A pin will appear on the map, which you can then drag to your desired location.
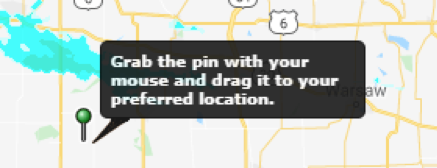
- Once you have set the location give it a name.
- Choose your time zone.
- Click OK.
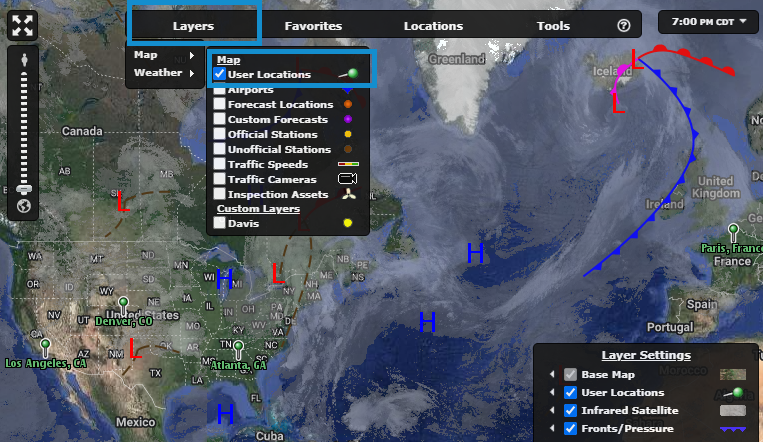
Your location will now be visible on the map, where you can overlay radar, temperature, alerts, etc.
Now that you have set up a Location, you can build upon this Location by things like configuring forecast settings, adding a daily planner and setting up alerts.